A while ago, friends of mine got married. Like so often, we tried to come up with some extraordinary cool wedding present. They both enjoy hiking and geo-caching, which inspired us to make the following present. We found an awesome idea online, the reverse geo-caching puzzle. The original description can be found here: http://arduiniana.org/projects/the-reverse-geo-cache-puzzle/
The idea is to give a box to the couple. Inside the box there is a gift (whatever you like to give as a present.) The box itself is locked and has one button and a display. When the button is pressed, the box retrieves its geographical location via a GPS receiver and displays a distance to a checkpoint. The holder of the box has to bring the box to the checkpoint. When the checkpoint is reached, a new distance to another checkpoint is shown on button-press. After reaching a couple of checkpoints, the box opens when carried to the last checkpoint. The tricky thing is that only the distance to the points is shown and no other information like compass points etc. Therefore, the holder of the box has to press the button in different locations and derive the coordinates of the checkpoint from these relative information.
We re-implemented and customized this original idea to give it to our friends. This article describes the making-of, including some documentation of the actual puzzle-solving. This project was done by me and four friends of mine in a truely globally collaborative way. The contributors to the box were located in two different countries, three different cities. We created the box in two different geographical locations and doing collaborative coding and soldering sessions via video conferencing. Only shortly before the actual wedding ceremony, we came together for the final assembly (and some hectic last-minute fixing).
First step was to find a box that was suitable to be the body of this present. We found a wooden box in an arts-supply shop.
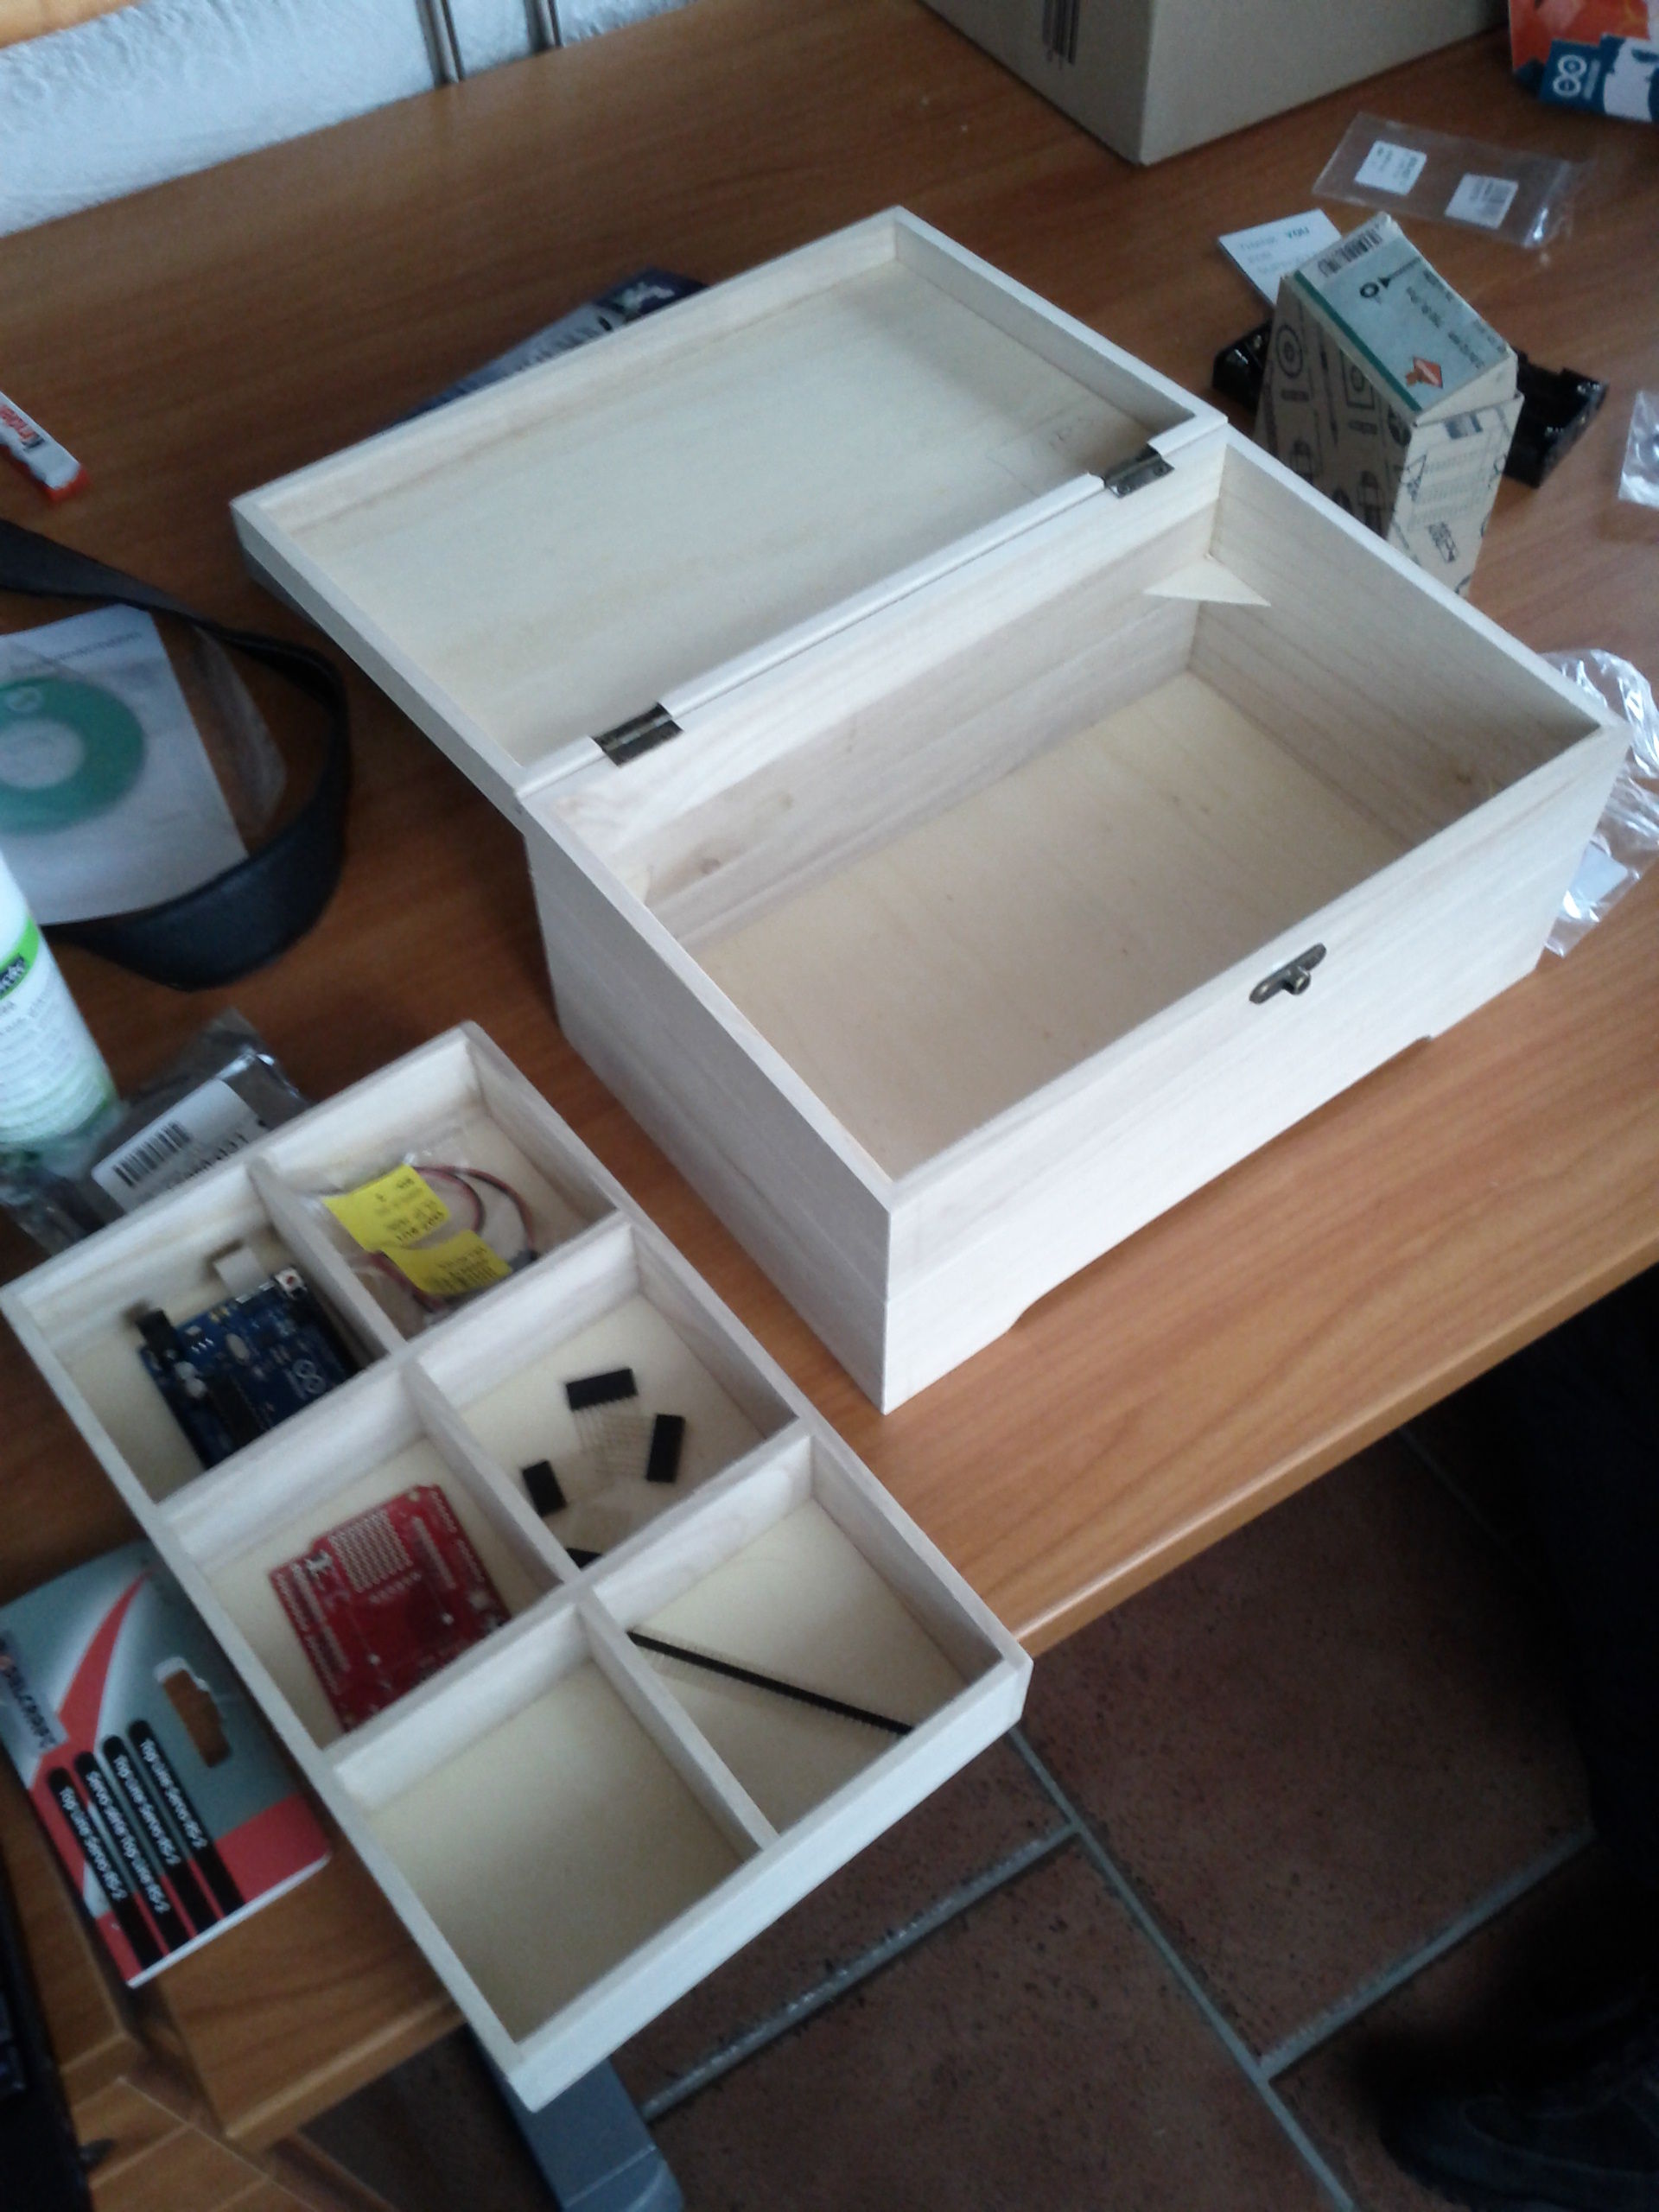
We threw away the interior stuff, cut holes in it for the display, the GPS sensor, and the button. We discarded the original locking mechanism of the box and installed some wooden block to hold the servo. Also, we attached holders for 8 AAA batteries. After the initial layer of paint, this was how it looked.
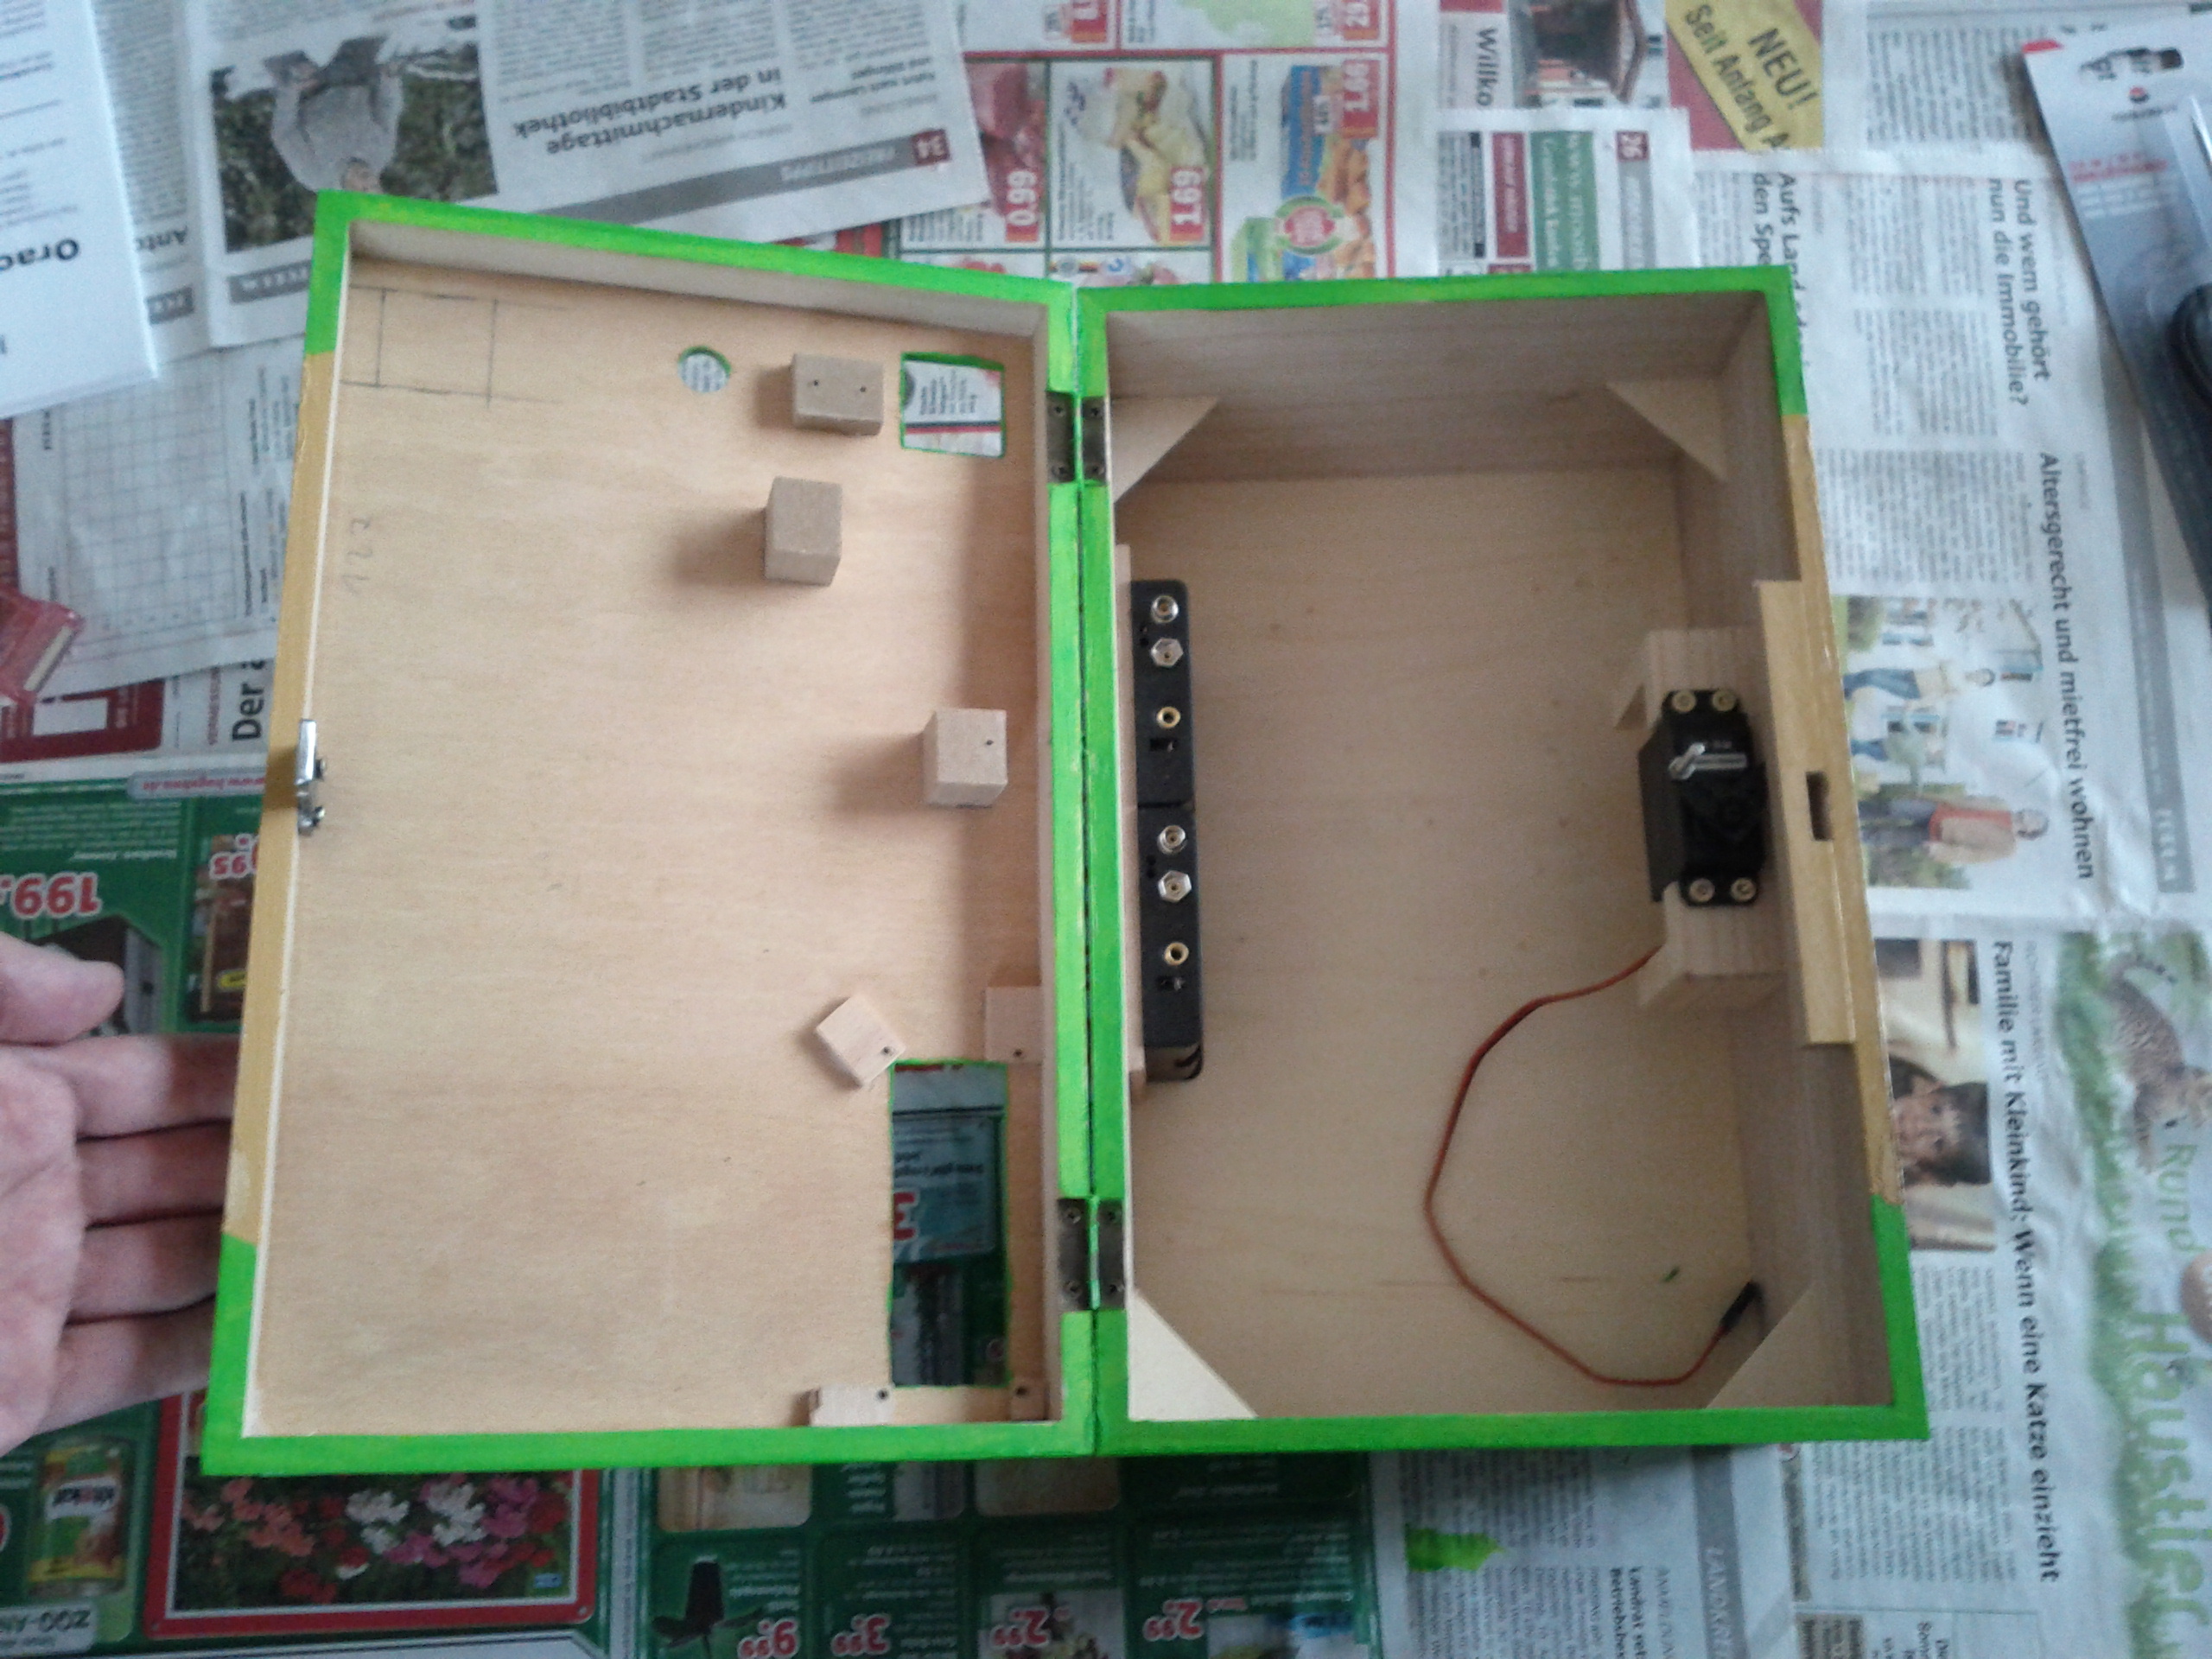
After installation of the arduino including the GPS shield, the GPS receiver and the button, it looked like this.
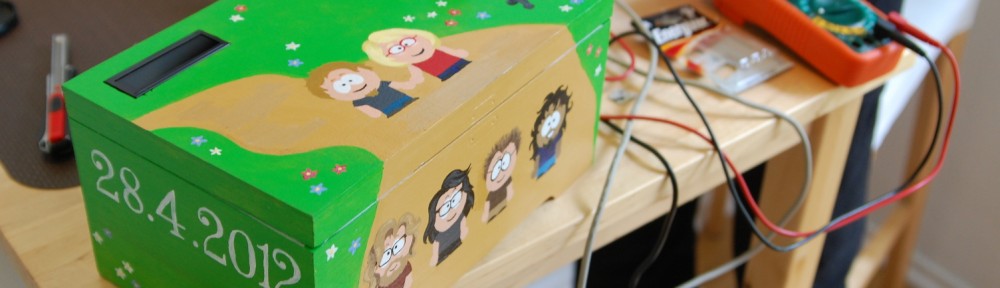
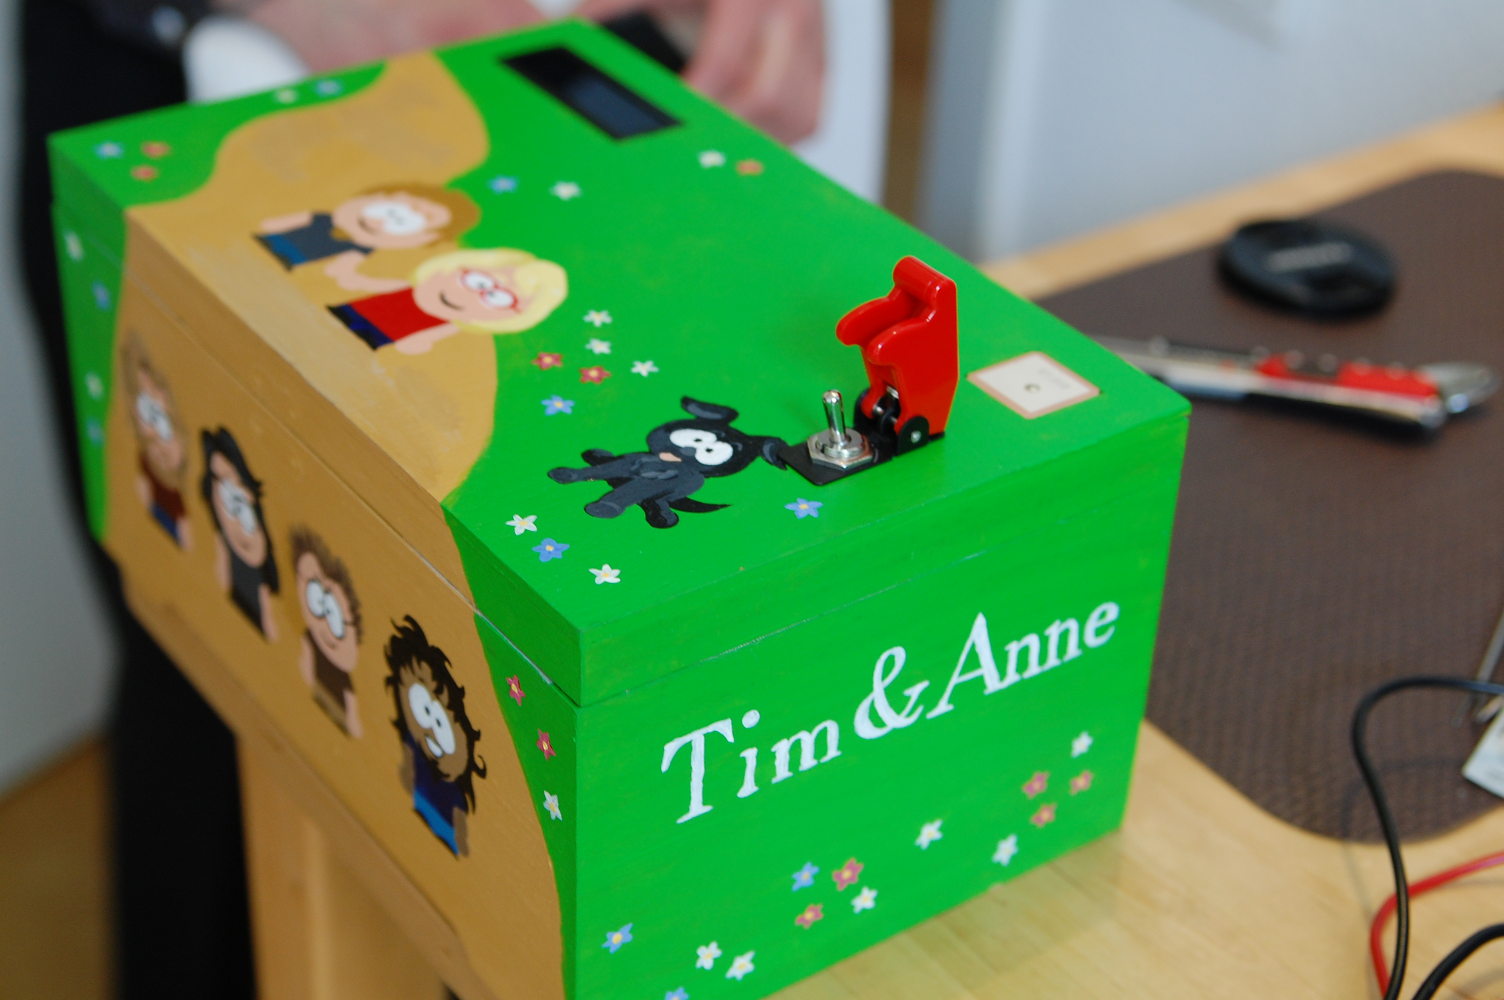
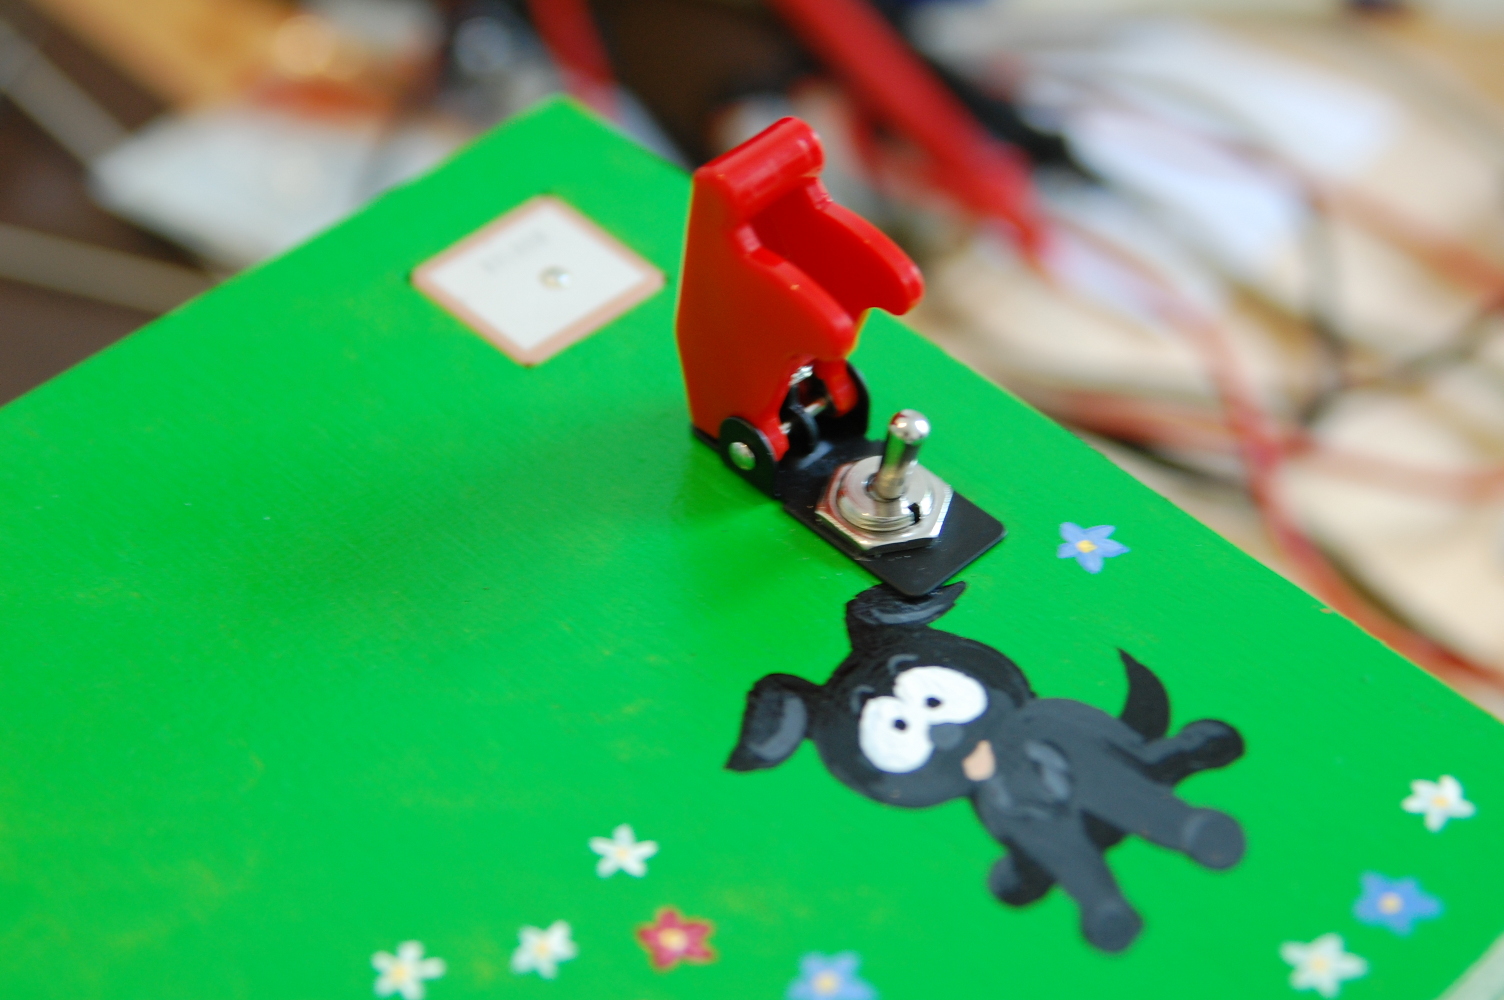
We finished the artwork with a preserving layer of transparent paint. The box shows south-park versions of the wedding couple, their dog, and (some) of the contributers. Here are some close-ups:
In particular, we liked this awesome button:
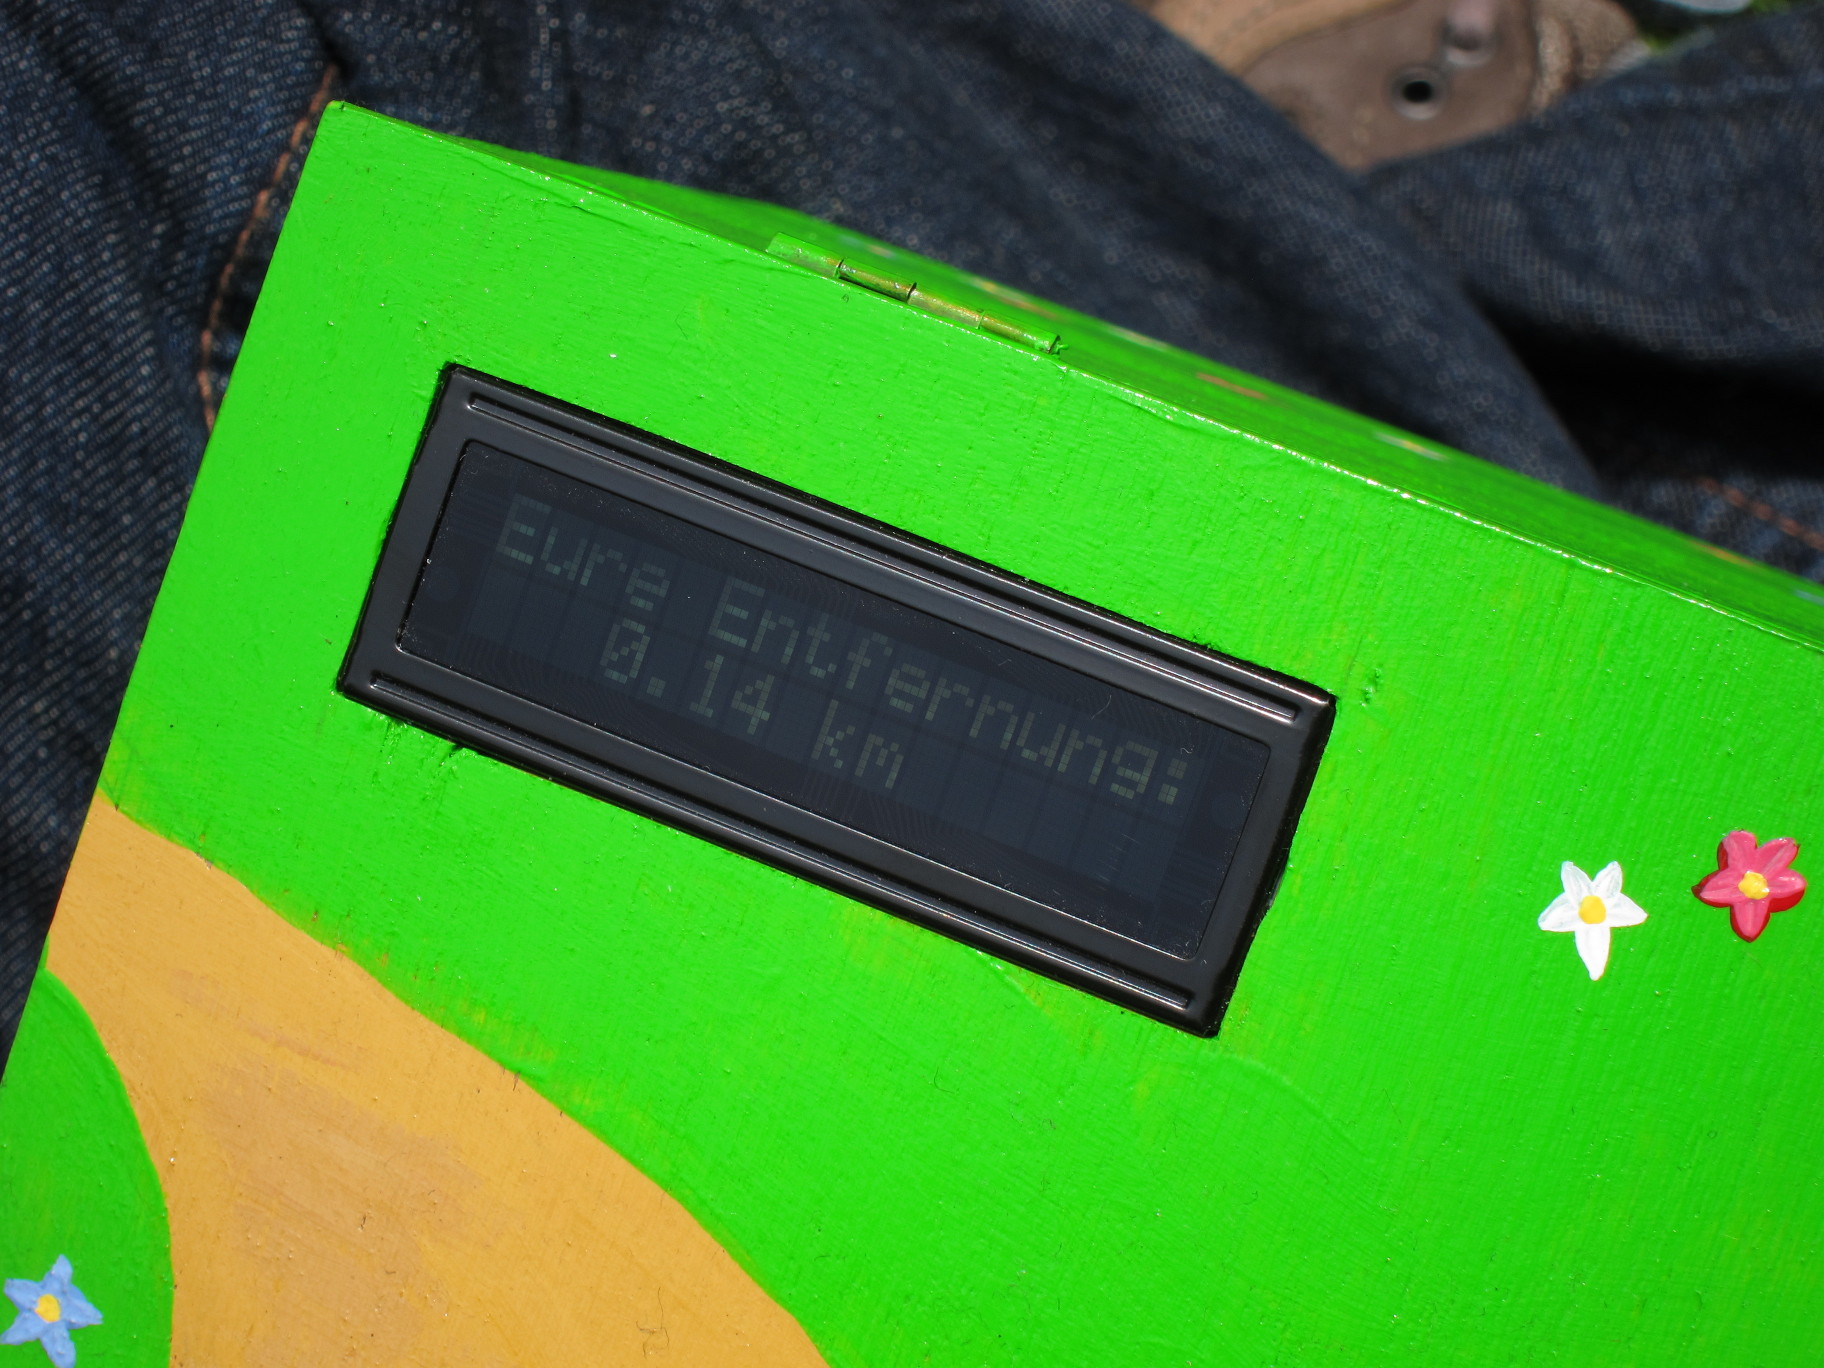
Then, we put the half-done box into the mail and sent to the next contributor. He did the final soldering and coded the logic of the box. That included the instructions that were shown on the box’s display for the three checkpoints, the logic for receiving and evaluating the GPS signal and the trigger to open the box at it’s final checkpoint. This is what the display looks like in action:
We did several test runs of sequences of checkpoints. Testing in this case meant to walk around the block with the box, which is already quite some effort to test some lines of code. The checkpoints which we actually finally programmed into the box, were three points approximately 100km apart from each other. We never actually tested these and only put their GPS coordinates into our code taken from Google maps. The places we chose had some significance to the wedding couple (the place they met, etc.).
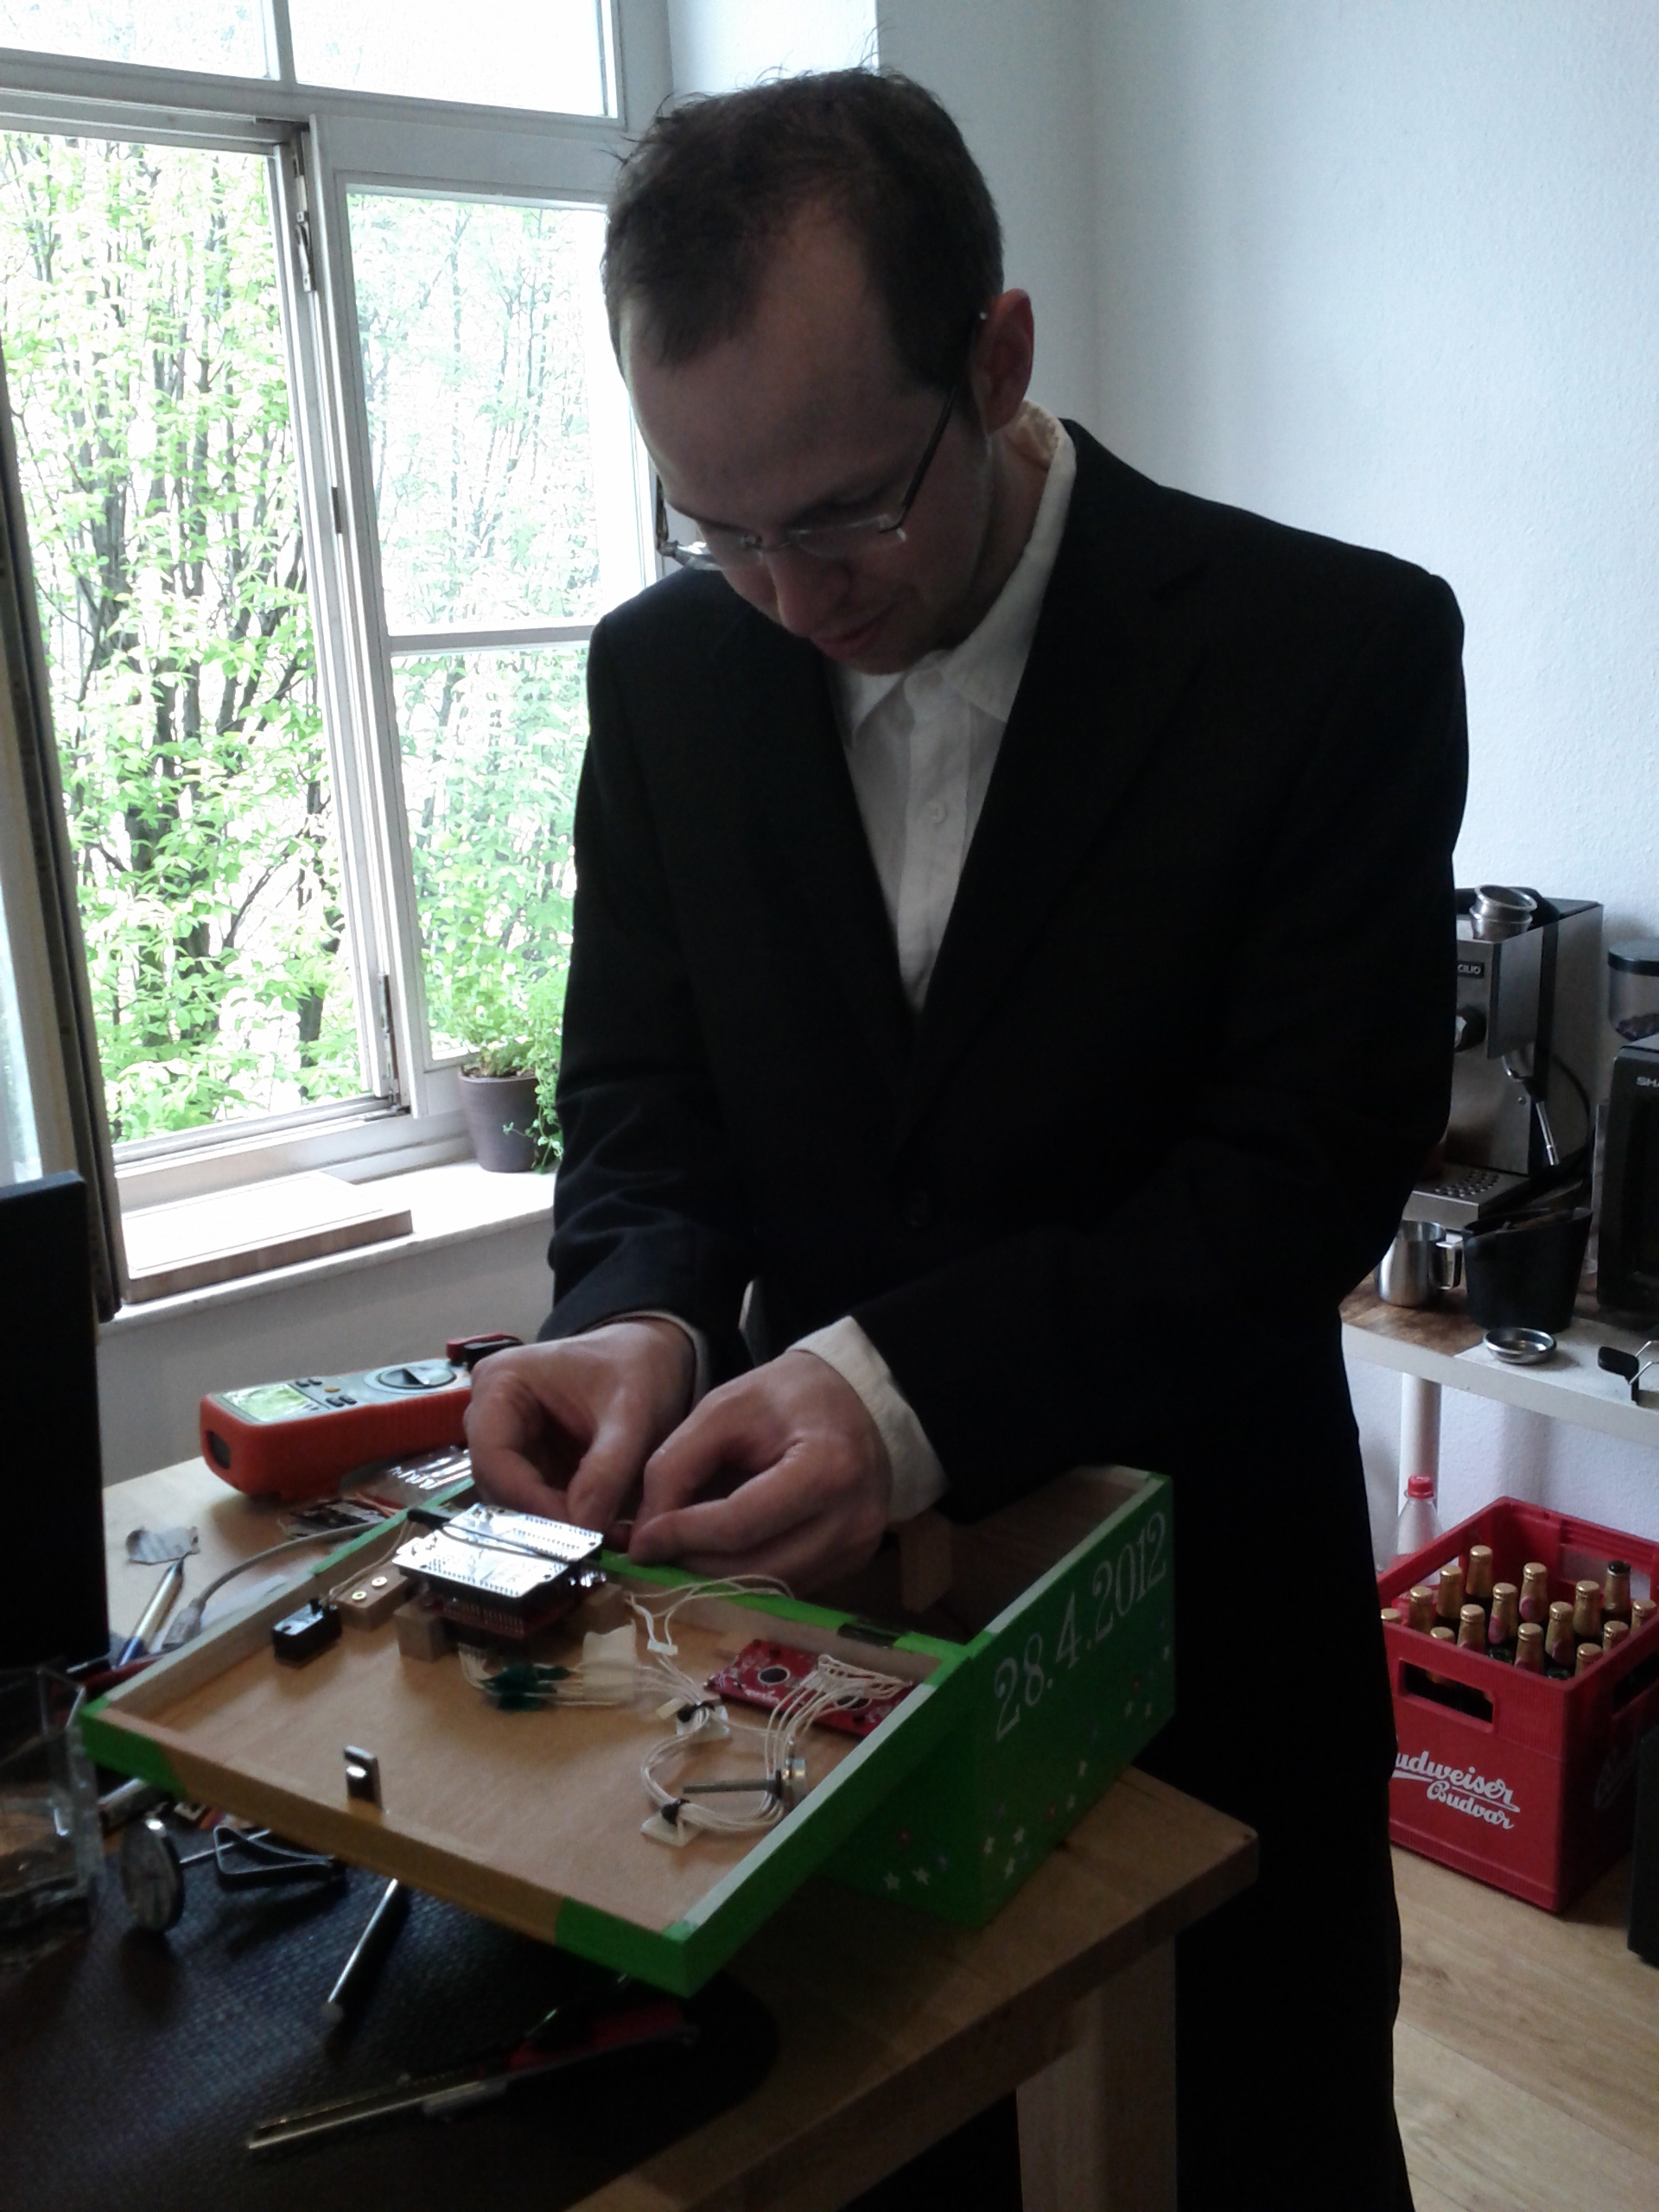
We also had several video conferences discussing the features of the box. The final assembly took place on the day of the wedding when already wearing our fancy outfits. (Kids: Don’t do that at home, last-minute coding without real testing usually fires back ;)) The sort-of-final, but cleaned-up version of our code can be found here: https://github.com/0xtob/

Needless to say, our present turned out to be awesome and the recipients really loved it. They successfully solved the puzzle and had to make some really nice trips to do so.
Before documenting the actual puzzle-solving, let’s just mention some lessons learnt from this project (in case you plan on making your own box for your next friends’ wedding):
- Make sure the batteries are thoroughly attached. Since the box is carried around a lot (and possibly in a shaky backpack when hiking), they might fall out of their holders. This actually happened here, but luckily only one battery and the left-over second rack of batteries was sufficient to complete the puzzle.
- Make sure you have a plan B when you accidentally lock yourself out. You could screw up the software (of course, you are an awesome programmer and thus this would never happen!) or the box just runs out of battery. The original box had a cable leading out of the box which you could use to reset the arduino which would then automatically open the box. We chose something even more fool-proof which also covers the case when the batteries die. We simply used a lock that you could open by inserting a knife’s blade between the lit and the box and pushing back one of the servo’s wings.
- The time frame that the recipients of the box have to solve the puzzle of course is dependent on the battery life (if you not additionally code some expiration into the software). We have no clue how long that would have been for our box. Also, we experienced problems with differently well charged batteries and different battery manufacturers. Actually, it worked better with half-empty ones than completely full ones.
- Make sure the paint of the box is completely dry when closing it. We had the problem of the box lit sticking to the box and making the opening difficult.
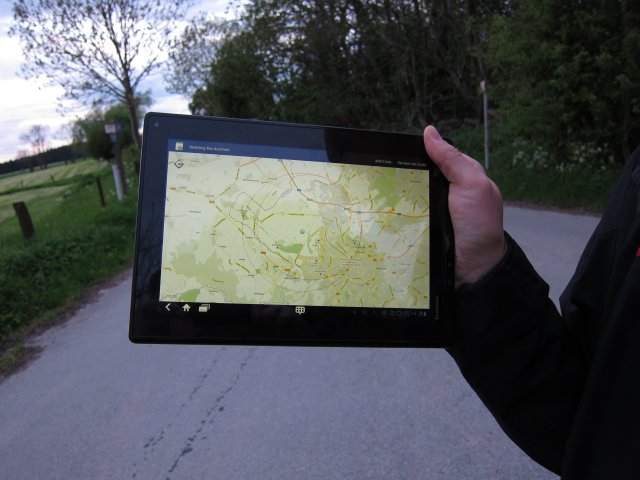
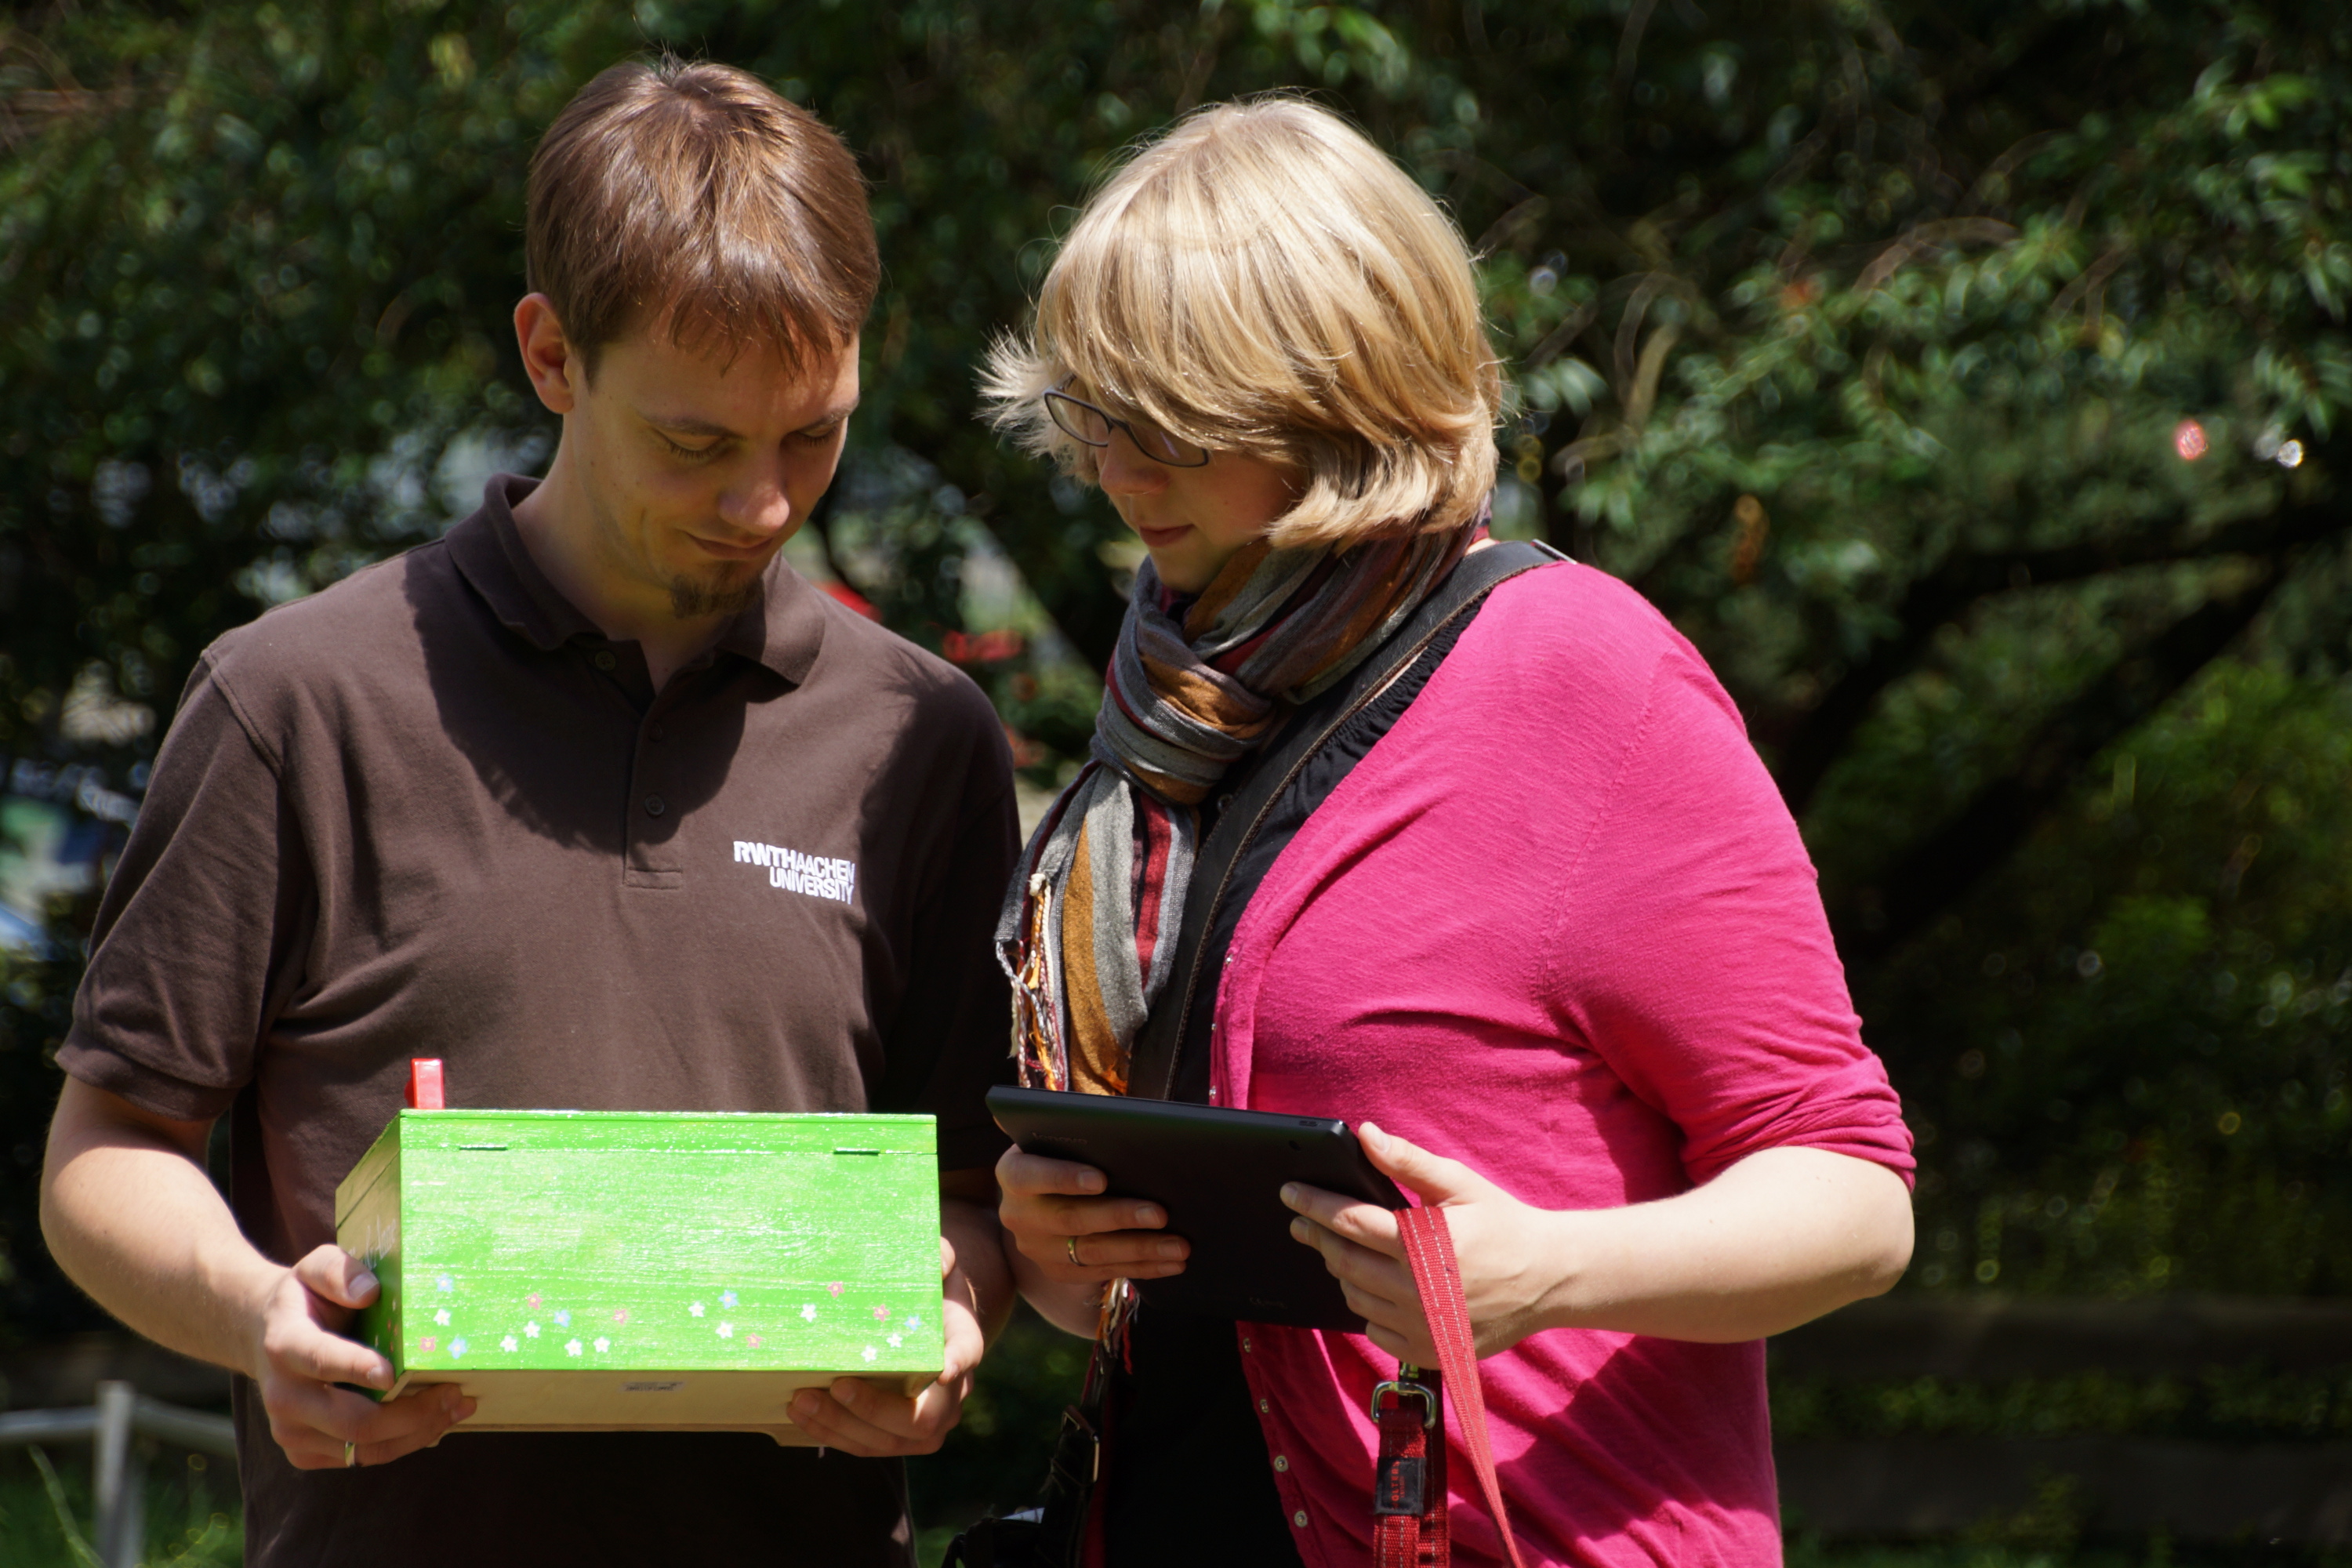
Coming to the solving of the puzzle. Since the box only shows a distance and no directions, the first thing the groom did, was write an android app for his tablet that would draw circles of different diameter to find the next checkpoint by intersecting them. Here is what it looked like:

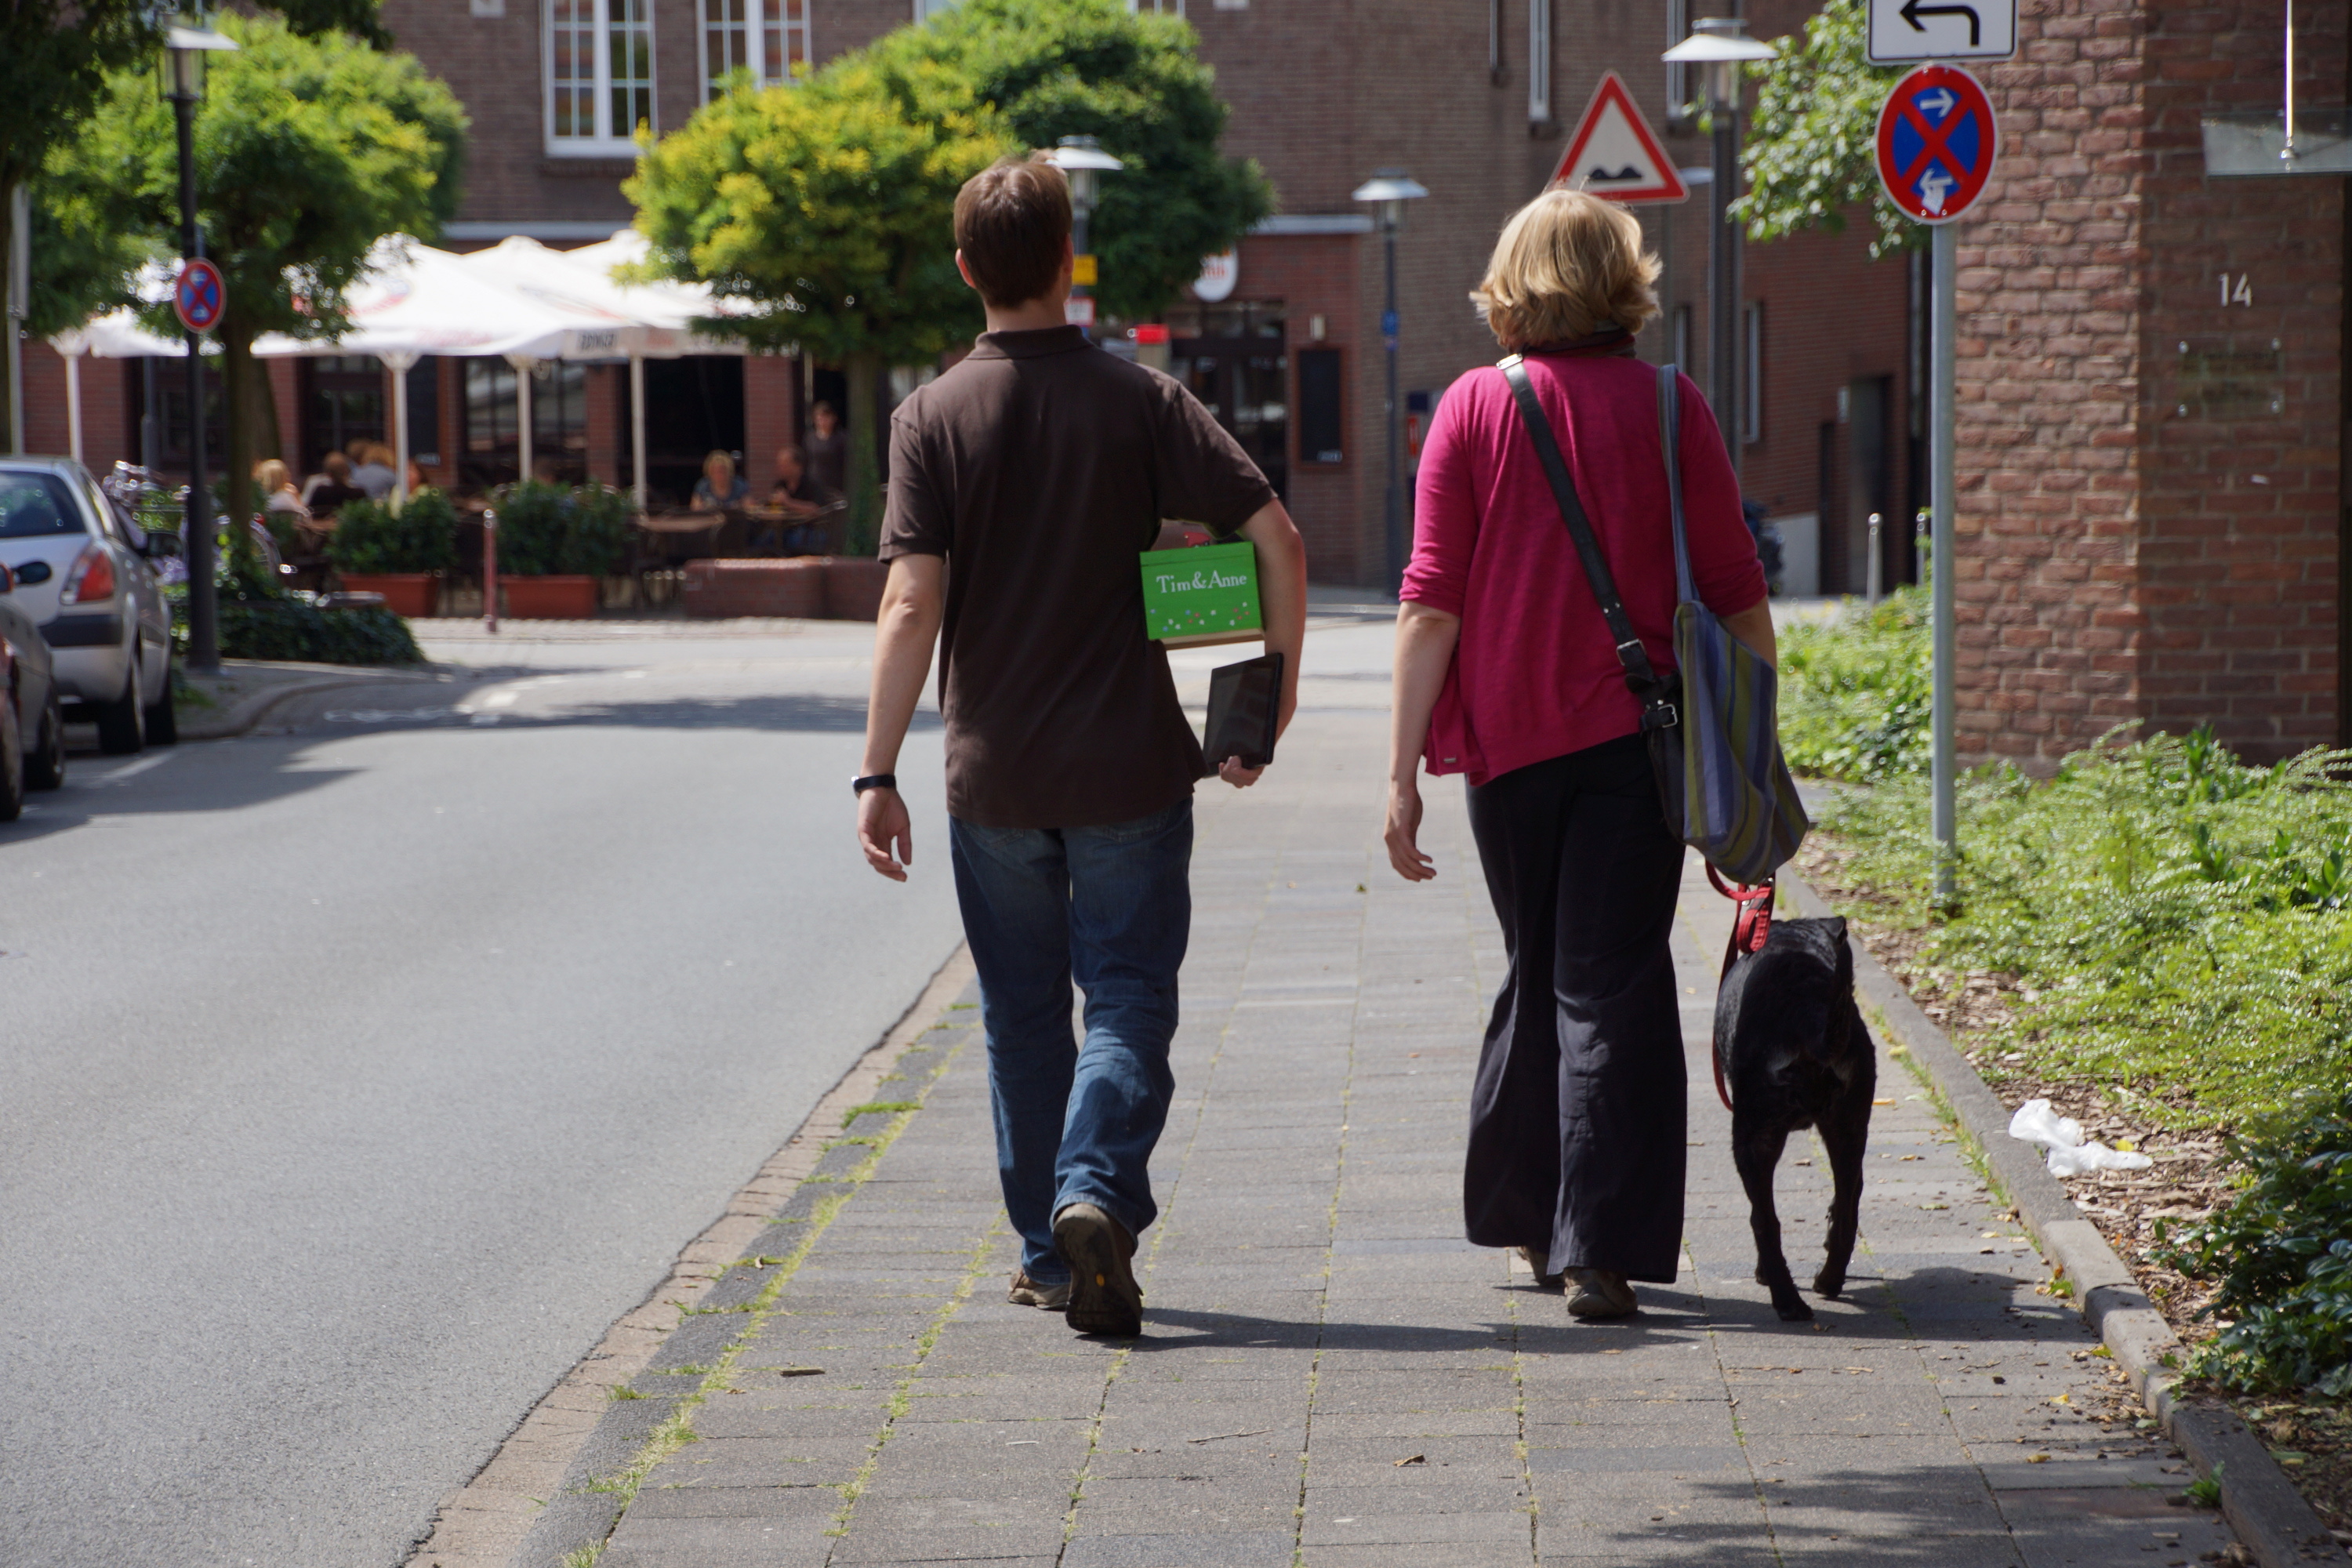
So, our wedding couple had some nice long walks with their dog:
And finally reached the last checkpoint and the box opened!
 After having fulfilled it’s purpose, the box kindly asked them to shut it down:

Thanks to Buck, Tob, Klaus and Medha for creating and contributing to this awesome present! Thanks to Tim and Anne for sharing some of their pictures. We hope you had a lot of fun solving this puzzle!
Pingback: Geeky Presents: A Reverse Geocaching Gift Box | Die wunderbare Welt von Isotopp
Pingback: Arduino Wedding-Box | Helga Velroyen
What an awesome gift.
I like the idea :-)
thats is really creative – and a cool think to solve..
thanks for the nice ‘tutorial’ ;-)